Monday, October 5, 2015

Inspiration Monday: An Adorable 50th Wedding Anniversary Party

My grandparents (Nano and Bump) recently celebrated their 50th wedding anniversary (and the crowd goes crazy)! Anyways, for today's Inspiration Monday I wanted to share some pictures from the party. A hundred and thirty people came to celebrate at the very same dance hall where they met 50 years ago! 

The lovely cake. 

The big five-oh!

Mmmm!


Centerpiece. 


Established 1923!

A trail mix bar!!!


The band. Who knows, they may have been playing the night they met!

Me and my sister dancing... I'm the older one...


My sister and her friend. 

I'm the one on the right. 
So, it was a great night! Hope this post helped!!!! 
Have a great week! 

- Sophia (a.k.a the one on the right)

Sunday, October 4, 2015

Our Halloween Decor Ensemble: Check It Out

These days, people want easy. At least, I know we do. Today, we put out our Halloween decorations: the same ones we've been using since forever ago. I thought I'd share the pics of what I did just to show that it can be easy to do decorations (and it can still look good). And for you overachiever types, check out what's coming soon at the bottom of the page.

Don't you just love this sign (and sorry 'bout the low-quality pic). I do! I change it from "IN" to "OUT" whenever we leave, although I'm the only one in the family who keeps up with that!

Oh, I love this guy! He's my fave! Plus, it's great for scaring innocent passersby.

We've had these pumpkin lights for so long, they're like part of the family. 

Oh, no! A witch crash-landed in our yard!!!

This spiderweb took literally 20 minutes to untangle, but you can't argue with the results! 


It's a tarantula! Hide!!!!

This little guy. But he's heavy!

BOO! This is the table at the very front of our house. 


So, as you can definitely see, cute doesn't have to be synonymous with "hard" or "time consuming."

 Coming Soon: 
 If you're in the Halloween mood, here's what's coming up!


  • My Neighbor's Halloween Decorations: Super Cool
  • Trash Bag Ghosts Tutorial
  • Our Family's Costumes
  • Pumpkin Bread (mmmm!)
So, check it out! Thanks!

Love, Sophia

Yarn Wrapped Letters

I know pretty much everyone has seen that tutorial to make yarn wrapped letters, huh?

Yeah. Well, I wanted to try something like that, but make it easy. So instead of a wooden letter, craft glue, and three different types of yarn, I turned to something simple: cardboard, a hot glue gun, and yarn.

Here's the tutorial.


Supplies:

  • Cardboard
  • Sharpie
  • Hot Glue Gun
  • Yarn
  • Any Extra Embellishments you'd like to add
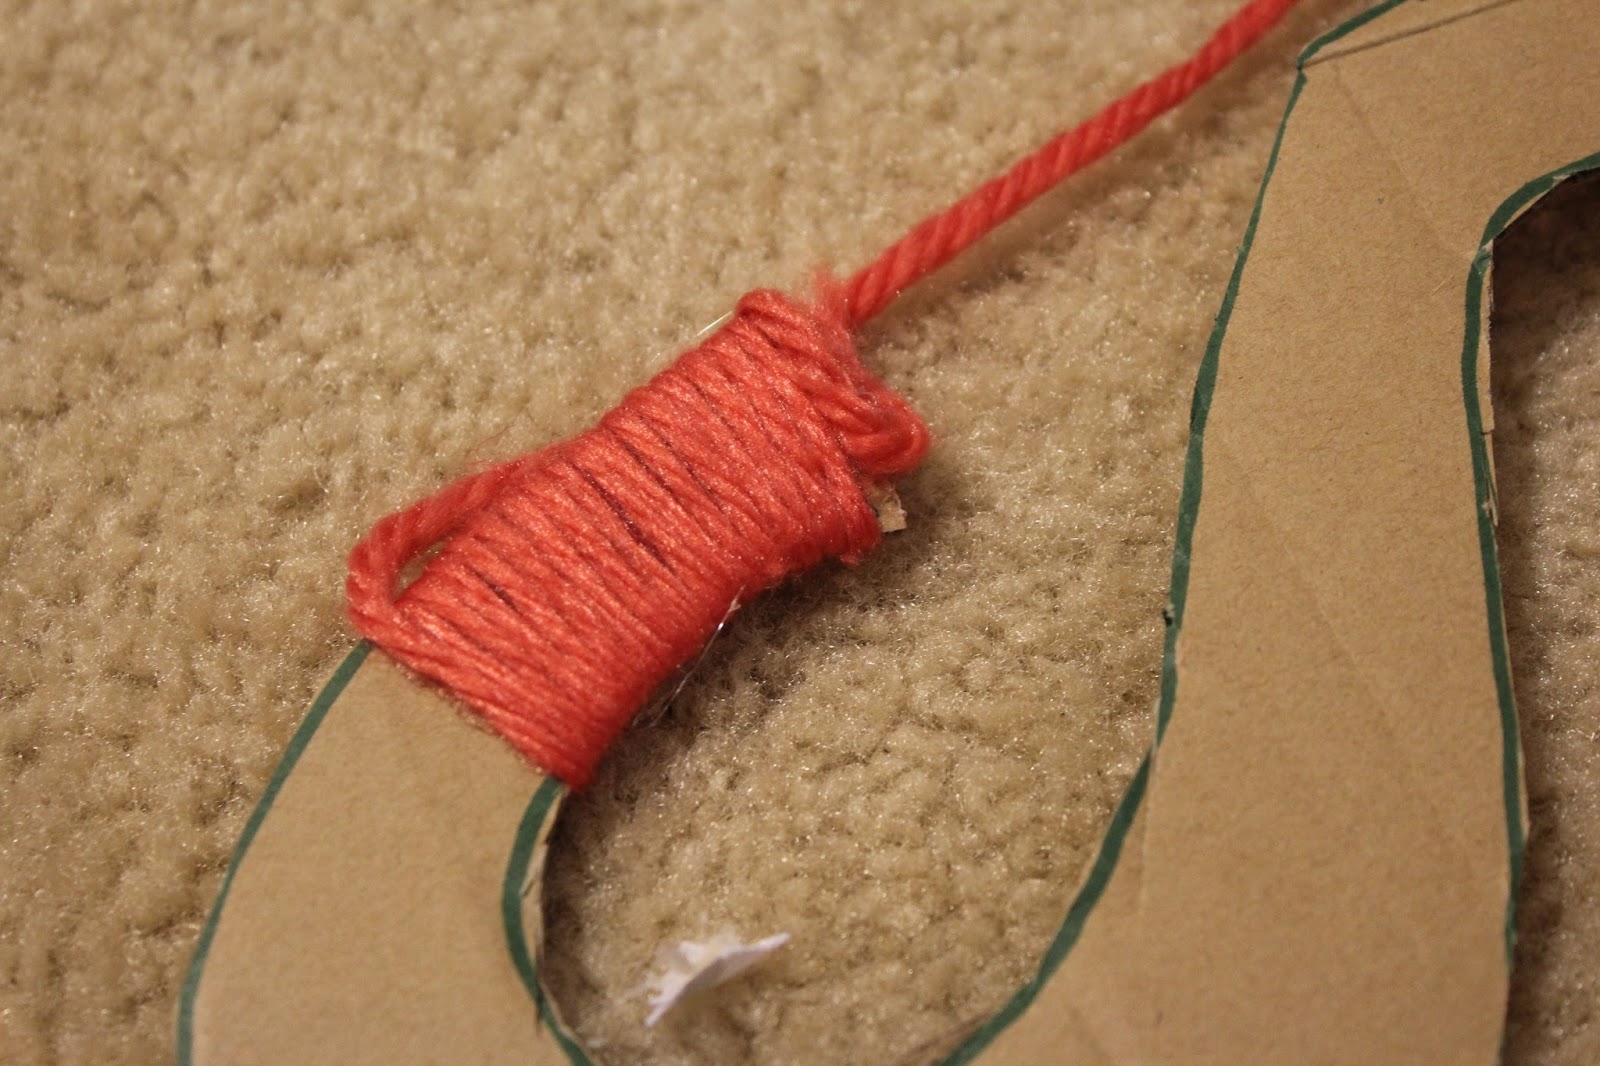
First, draw your letter or shape on a piece of cardboard and cut it out. 


Then, get your yarn and glue ready. Apply a layer of glue to the top of the letter and attach the yarn, then start wrapping the yarn around the letter, stopping every couple of rounds to add a line of glue and glue a piece of yarn down. This is to keep it secure.


When you're ready to change colors, cut the yarn and glue the end on the back of the letter. Then get your new yarn and glue it to the back, and start wrapping like before.


I kept alternating colors until I reach the end. Then, I attached the end of the yarn to the letter like I did to start the wrapping process. If you crafty people out there find a better way to start and end the wrapping please let me know (bold, italics, underlined? you know i'm serious!). (-:

Attach any embellishments. I added the same flower I used on my cowbell (see tutorials under the Drill Team Life! tab).

Well, here's how mine turned out:


Here is is on my wall!!!

I hope you enjoyed the tutorial. Please comment what you thought below. Thanks for checking in!

- Sophia